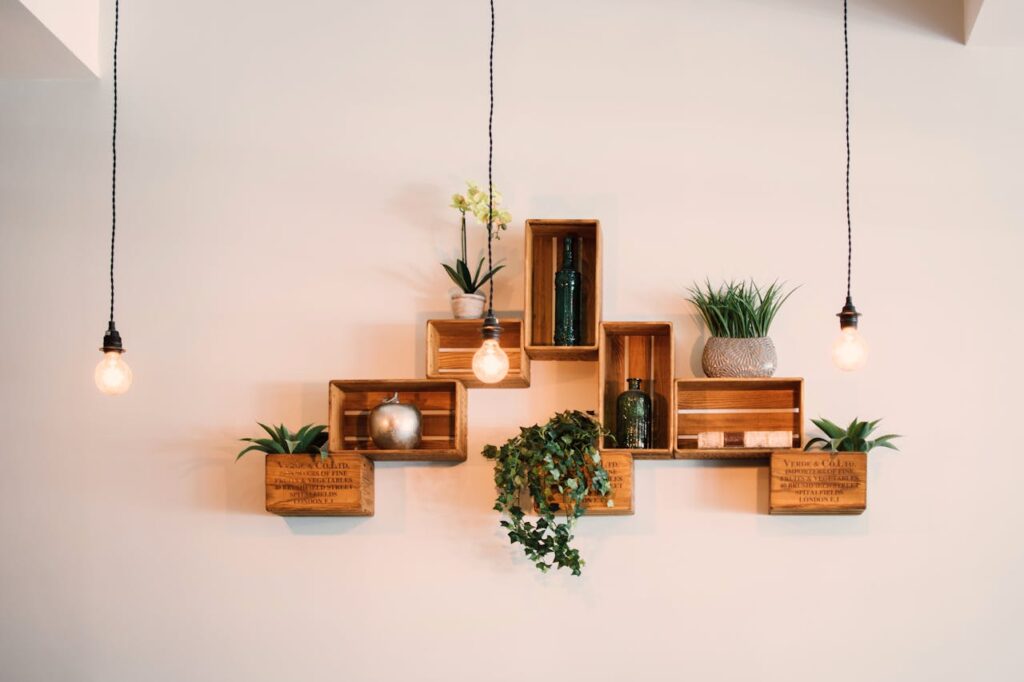
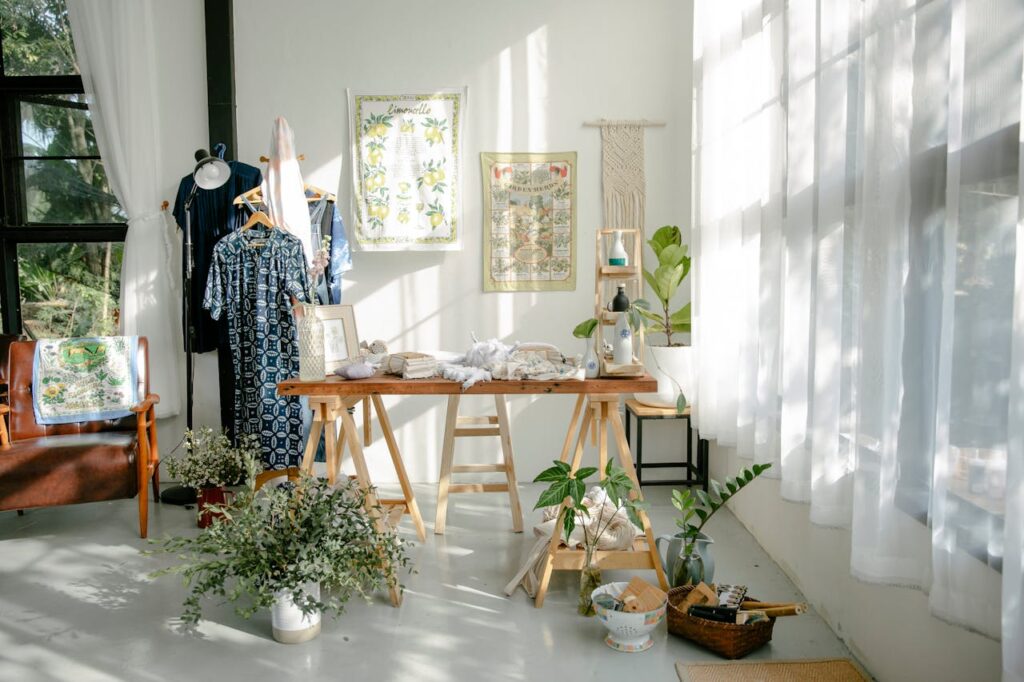
Welcome to Marvel Design’s DIY Home Decor Projects! Whether you’re a seasoned DIY enthusiast or a beginner looking to add a personal touch to your home, our step-by-step guides are here to inspire and guide you. From small crafts to larger home improvements, these projects are designed to be easy to follow and rewarding to complete. Let’s get creative!
Project 1: Custom Floating Shelves ( DIY Home Decor Project )
Transform your walls with stylish and functional floating shelves. Perfect for displaying books, plants, or decorative items.
Materials Needed:
- Wooden boards (cut to desired shelf size)
- Wall brackets
- Screws and anchors
- Sandpaper
- Paint or wood stain
- Paintbrush
- Level
- Drill

Instructions:
- Prepare the Wood:
- Sand the wooden boards to smooth out any rough edges.
- Paint or stain the wood to your desired finish. Allow it to dry completely.
- Attach the Brackets:
- Mark the position of the brackets on the wall using a level to ensure they are straight.
- Drill holes for the anchors, then insert the anchors and screw the brackets into place.
- Mount the Shelves:
- Place the wooden boards on the brackets, securing them with screws from underneath if necessary.
- Ensure the shelves are level and adjust if needed.
- Style Your Shelves:
- Arrange your books, plants, and decor items on the shelves to complete the look.
Project 2: DIY Wall Art with Canvas and Fabric
Create unique and personalized wall art using fabric and canvas. This simple project adds a pop of color and texture to any room.
Materials Needed:
- Blank canvas (any size)
- Fabric of your choice
- Staple gun
- Scissors
- Ruler

Instructions:
- Cut the Fabric:
- Measure and cut the fabric to be slightly larger than the canvas, leaving enough excess to wrap around the edges.
- Attach the Fabric:
- Lay the fabric face down on a flat surface. Place the canvas on top, centered.
- Wrap the fabric around the edges of the canvas and secure it with a staple gun, starting in the center of each side and working outwards. Ensure the fabric is pulled tight to avoid wrinkles.
- Finish the Edges:
- Fold the corners neatly and staple them in place.
- Hang Your Art:
- Use nails or adhesive hooks to hang your new fabric wall art.
Project 3: Reclaimed Wood Coffee Table
Give your living room a rustic charm with a reclaimed wood coffee table. This project is perfect for those who love the look of natural, weathered wood.
Materials Needed:
- Reclaimed wood planks
- Wooden legs or metal hairpin legs
- Screws
- Wood glue
- Sandpaper
- Wood sealant
- Drill
- Saw (if cutting is required)

Instructions:
- Prepare the Wood:
- Sand the reclaimed wood planks to remove any splinters and dirt.
- Arrange the planks side by side to form the tabletop.
- Assemble the Tabletop:
- Apply wood glue between the planks and clamp them together. Allow the glue to dry completely.
- Reinforce the joints with screws for added stability.
- Attach the Legs:
- Mark the positions for the legs on the underside of the tabletop.
- Attach the legs using screws, ensuring they are evenly spaced and secure.
- Finish the Table:
- Sand the entire table to smooth out any rough edges.
- Apply a wood sealant to protect the surface and enhance the wood’s natural beauty.
- Place Your Table:
- Position your new coffee table in your living room and style it with books, trays, and decor items.
Project 4: Handmade Macrame Plant Hanger
Add a bohemian touch to your home with a handmade macrame plant hanger. This project is perfect for hanging plants in any room.
Materials Needed:
- Macrame cord (about 100 feet)
- Metal ring
- Scissors
- Tape measure
- Potted plant

Instructions:
- Cut the Cord:
- Cut eight lengths of macrame cord, each about 10 feet long.
- Attach to the Ring:
- Fold each cord in half and loop it through the metal ring, securing it with a lark’s head knot.
- Create the Knots:
- Divide the cords into four groups of four.
- Tie a series of square knots with each group, creating a pattern.
- Continue knotting until you reach the desired length for your plant hanger.
- Form the Basket:
- Gather all the cords together and tie a large knot at the bottom.
- Place the potted plant inside the hanger and adjust the knots as needed to ensure it sits securely.
- Hang Your Planter:
- Hang your macrame plant hanger from a ceiling hook or a sturdy wall hook.
Project 5: Painted Terra Cotta Pots
Brighten up your garden or indoor plant collection with custom-painted terra cotta pots.
Materials Needed:
- Terra cotta pots
- Acrylic paint
- Paintbrushes
- Painter’s tape
- Sealant spray
Instructions:
- Clean the Pots:
- Ensure the pots are clean and dry before starting.
- Design and Paint:
- Use painter’s tape to create patterns on the pots.
- Paint the pots with your chosen colors, applying multiple coats if necessary.
- Allow the paint to dry completely between coats.
- Seal the Paint:
- Once the paint is dry, apply a sealant spray to protect your design from the elements.
- Plant Your Pots:
- Fill your newly painted pots with soil and your favorite plants.
At Marvel Design, we believe that DIY projects are a fantastic way to personalize your space and express your creativity. For more ideas, tips, and detailed guides, be sure to explore the rest of our website. Happy crafting!
